- Home - Blue Palmetto Home Inspection of Summerville and Charleston
- Learn About Us and This Charleston Home Inspector
- What's Inspected
- Charleston Lowcountry Inspection Areas (geographic)
- Testimonials
- >>>Blogs (educational)
- Sample Reports & Documents
- Why Get a Home Inspection Report
- Charleston's Top Ten Reasons
- Home Inspector Photo Galleries
- Pricing
- Scheduling and Customer Information
- Home Inspection Authorization Contract
- General Scope of Work (electronic)
- Home Inspection Customer Satisfaction Survey
- Privacy Policy
- Full site
- The Roof Framers Field Manual
how to mark the top of a shed roof rafter
Submitted by Ray Thornburg on Sun, 04/22/2012 - 10:51
How to Mark the Top of a Shed Roof Rafter with a Framing Square

These pictures show you how to mark the top layout of a shed roof rafter when it lays on top of another steeper roof. In the example above the main roof is a 7/12 pitch and the shed roof is a 4/12 pitch. First find a piece of plywood big enough to mark the main roof angle ( 7 ). Then make a mark along the tongue of the square at the lower pitch number ( 4 ). Then draw a line between 12 and 4 and presto..... this is the angle to use. Simply rotate your square until it lines up with the line you made. It is about a 2.5 in 12 level cut in this example.
For more information about how to make this cut see this page. How to figure the angle to cut a shed type roof rafter. That page will show you how to do it mathematically. Please note that for this work your pitches and other calculations should be right on.
To learn how to figure the length of a shed type porch roof rafter see this page.
Here are some photos of the process. Click the photos for a larger image.
Start with your framing square set to 7 on the tongue and 12 on the blade. It helps to draw a line around the square but if you don't do that at least make a mark at the 12. 7/12 is the angle of the main roof.
Make a mark at the pitch of your shed roof, 4 in this case.
Use your framing square as a straight edge to draw a line from the 12 to the mark you made at 4.
Set the blade on the 12 mark you made and rotate the square until it lines up with the line you drew. Read the pitch on the framing square ( 2 1/2 in this case).
If you found this information helpful don't be afraid to leave a comment. We would love to hear from you!
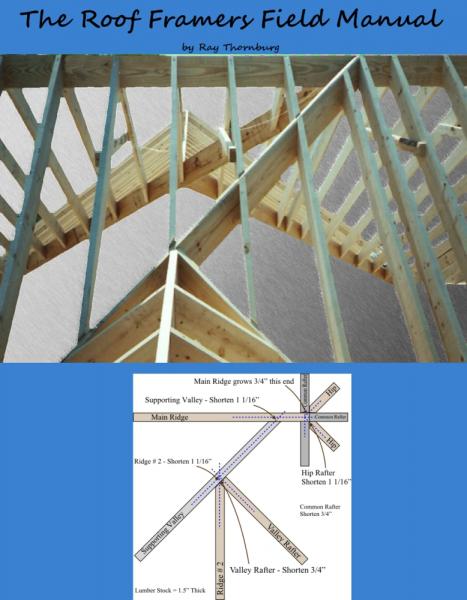
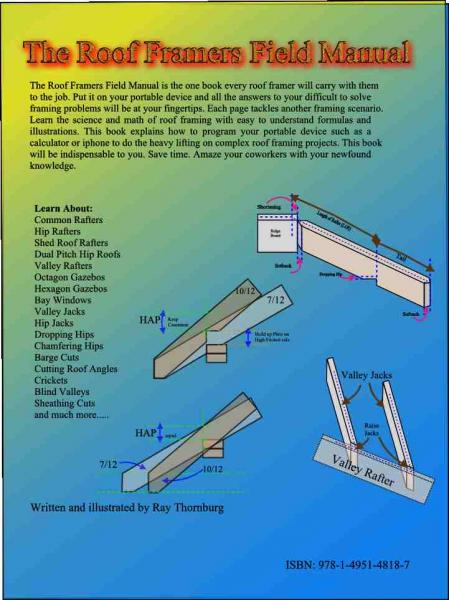
If you want to learn even more roof framing secrets buy my book! The Roof Framers Field Manual has it all.
Click the links to go to our buy now page!


