- Home - Blue Palmetto Home Inspection of Summerville and Charleston
- Learn About Us and This Charleston Home Inspector
- What's Inspected
- Charleston Lowcountry Inspection Areas (geographic)
- Testimonials
- >>>Blogs (educational)
- Sample Reports & Documents
- Why Get a Home Inspection Report
- Charleston's Top Ten Reasons
- Home Inspector Photo Galleries
- Pricing
- Scheduling and Customer Information
- Home Inspection Authorization Contract
- General Scope of Work (electronic)
- Home Inspection Customer Satisfaction Survey
- Privacy Policy
- Full site
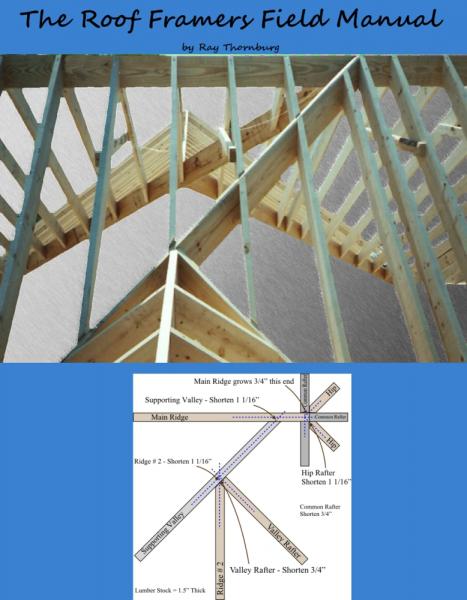
- The Roof Framers Field Manual
How to Determine Hip Ridge Length and Wall Layout
Submitted by Ray Thornburg on Thu, 03/21/2013 - 11:22

How to Determine the Length of the Ridges on a Hip Roof and How to Lay out the Wall on a Hip Roof
The walls of a hip roof are laid out from the center of the first common rafter. The first common rafter is the one on the end of the ridge. The other rafter are laid out from this one (either 16" o.c. or 24" o.c.) so that buildings materials like plywood can be economically utilized. Study the drawing below. Click the images to enlarge to a new window.
The ridge of a hip roof is equal to the length of the building minus twice the run plus the thickness of the rafter stock.
Layout is from the center of the first common rafter. In the example at left the run is 10'. So this is the measurement to the center of the first common rafter. Since common rafters are shortened at the top the ridge will grow by 1/2 the rafter stock thickness at both ends or 1.5" for nominal 2x lumber.
Sometimes a roof is a little more complex. The first step to framing a complex hip roof is figuring out the length of all the ridges. For this purpose we count hip and valley rafters as ridges. Since wood has depth we must account for this thickness when laying out and cutting rafters. Studying the next drawing will help clarify. It is an example of how to figure the ridge lengths.
The drawing at left shows how simple math is used to determine the ridge length. Because I have not discussed how to figure the length of hip and valley rafters yet this drawing only refers to the run of hip and valley rafters. The run is used to lay out these rafters. Notice that the while ridge A and B grow by the thickness of the rafter stock, the hip ridge C is shortened. It is shortened by the 45 degree thickness of the rafter stock (2 1/8"). Note that this is a horizontal measurement taken along the level line of the framing square. It is a field cut. The mathematical run is still one foot.
Of course once you have the run of the rafters it is easy enough to get the actual length of the rafters whether it is the common or the hip rafter. You can use the old layout method or a calculator to do this. You'll still have to lay out the cuts. Remember to set back 3/4" for the saw blade bevel when cutting the hips where they intersect the ridges. Hips have to be shortened and set back.
Shortening- typically 1/2 the 45 degree thickness of the rafter stock- 1 1/16" for 1.5" thick wood.
Setback - 1/2 the thickness of the rafter stock. This is done to account for the bevel of the saw so the rafter can fit snug. Typically 3/4". The setback does not reduce the length of the rafter.
Check out our page on how to figure the overhang or tail of a hip rafter here.
Check out our page on common rafter terminology here.
Our How to lay out a Hip Rafter page explains more on how to figure the length of a hip rafter.
Scroll through our educational blogs for a discussion of more home building subjects.
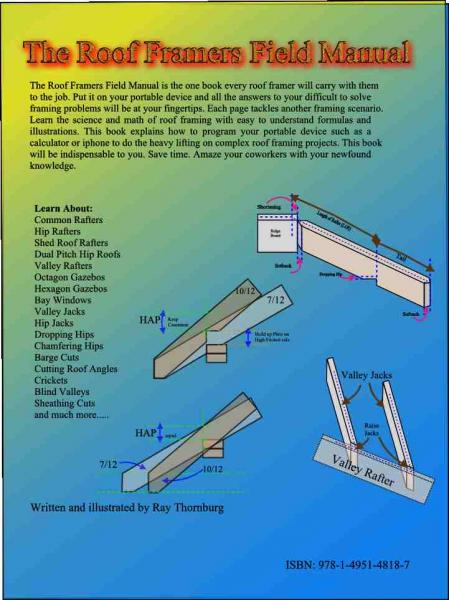
Learn the science and math of roof framing. Get the Roof Framers Field Manual.
Click the links to be taken to our buy now page!
If you like our page leave a comment. We'd love to hear from you!


Comments
Yep...you're exactly right...Length of ridge A should be 17' 1.5"....good catch....and correction made....thank you for the feedback....